AttRibutes
Static to Collection List
What is this page about?

Attributes, by Finsweet, offers a free series of Solutions that provide essential features to improve your Webflow websites.

Static to Collection List

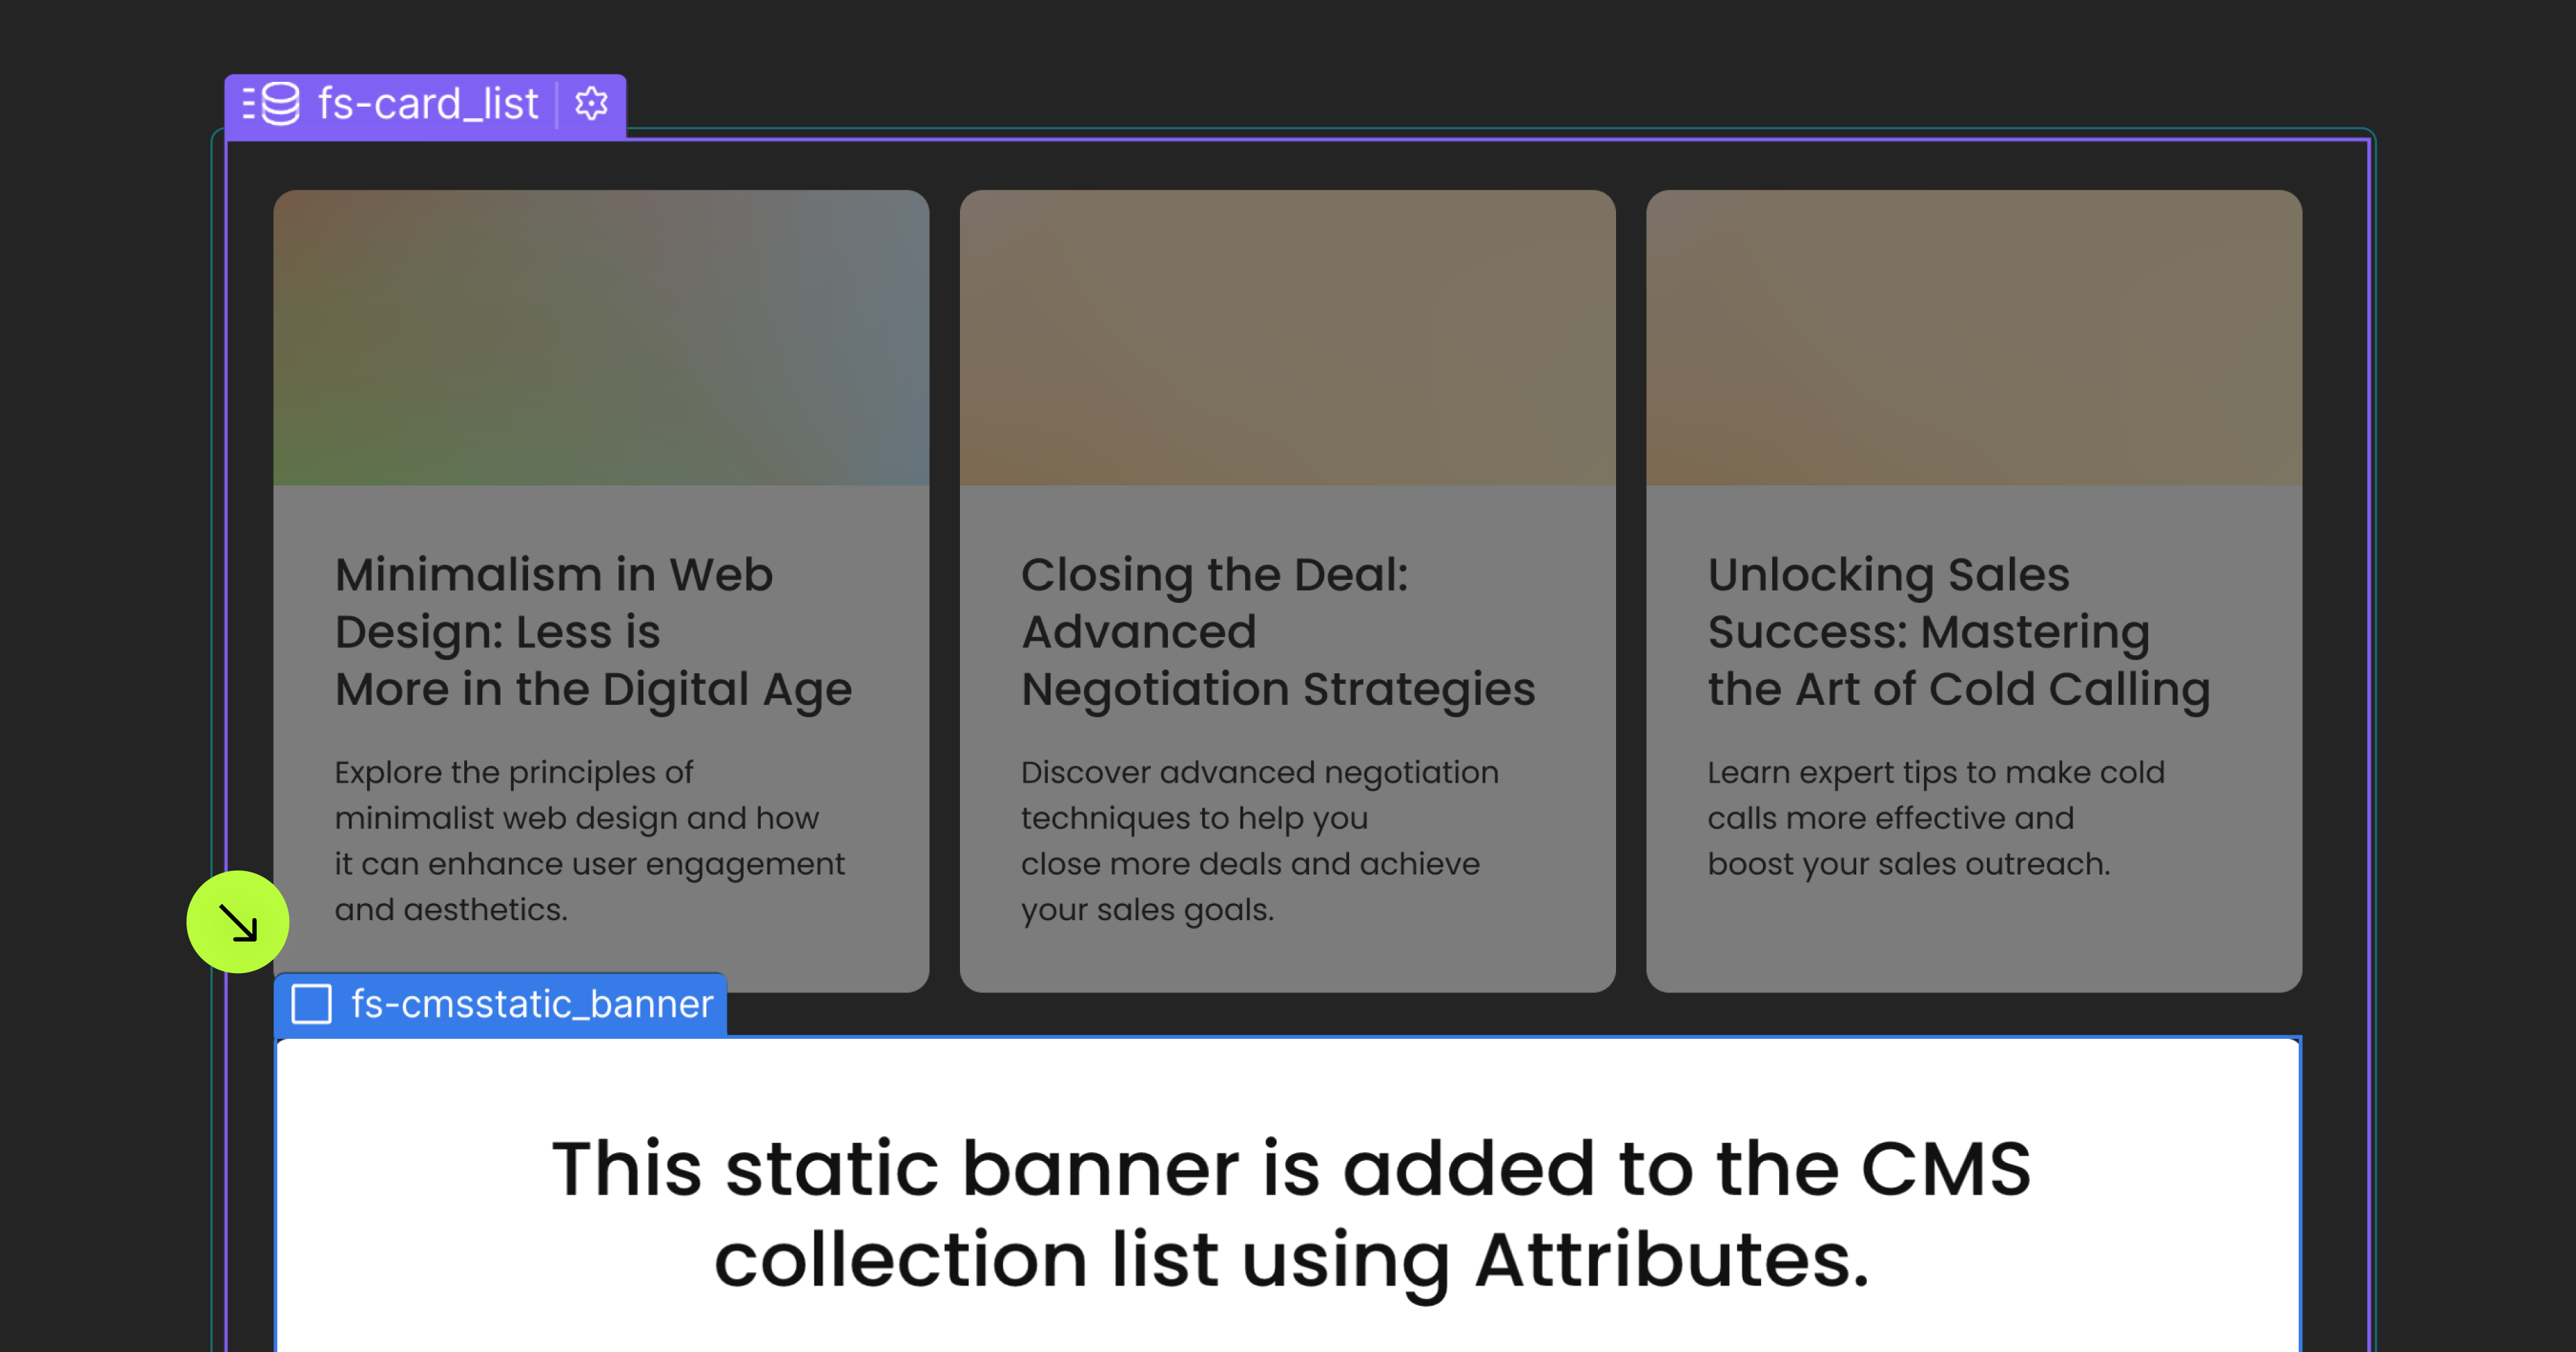
Add static content to a Webflow CMS Collection List.

Solution • Flash Card

Copy Script

For advanced users familiar with this solution. Includes all attributes from this page. Click on attributes and values to copy them.

Required attributes

List

Add to Collection List

fs-cmsstatic-element
=
"
list
"

Static Item

Add to Collection List

fs-cmsstatic-element
=
"
static-item
"

Optional attributes

Order

Add to CL with fs-cmsstatic-element = "static-item"

fs-cmsstatic-order
=
"
NUMBER
"

Repeat

Add to CL with fs-cmsstatic-element = "static-item"

fs-cmsstatic-repeat
=
"
NUMBER
"

Interactive

Add to CL with fs-cmsstatic-element = "static-item"

fs-cmsstatic-interactive
=
"
true
"
1

Add this <script> inside the <head> tag of your page or project

This script is the universal Attribute script: you only need to include it once, even if you have multiple Attribute solutions on the page. Learn more .

<script async type="module"
src="https://cdn.jsdelivr.net/npm/@finsweet/attributes@2/attributes.js"
fs-list
></script>

Copy Script
2

Add these required attributes to the elements

List

The Collection List to add a static item to
fs-list-element
=
"
list
"

This attribute designate the Collection List in which the Static Item will be added.

Add this attribute:
Name
fs-list-element
Copy
Value
list
Copy
Add it to those type(s) of element(s):
Collection List

Static Item

The element that will be moved inside the Collection List
fs-list-element
=
"
item
"

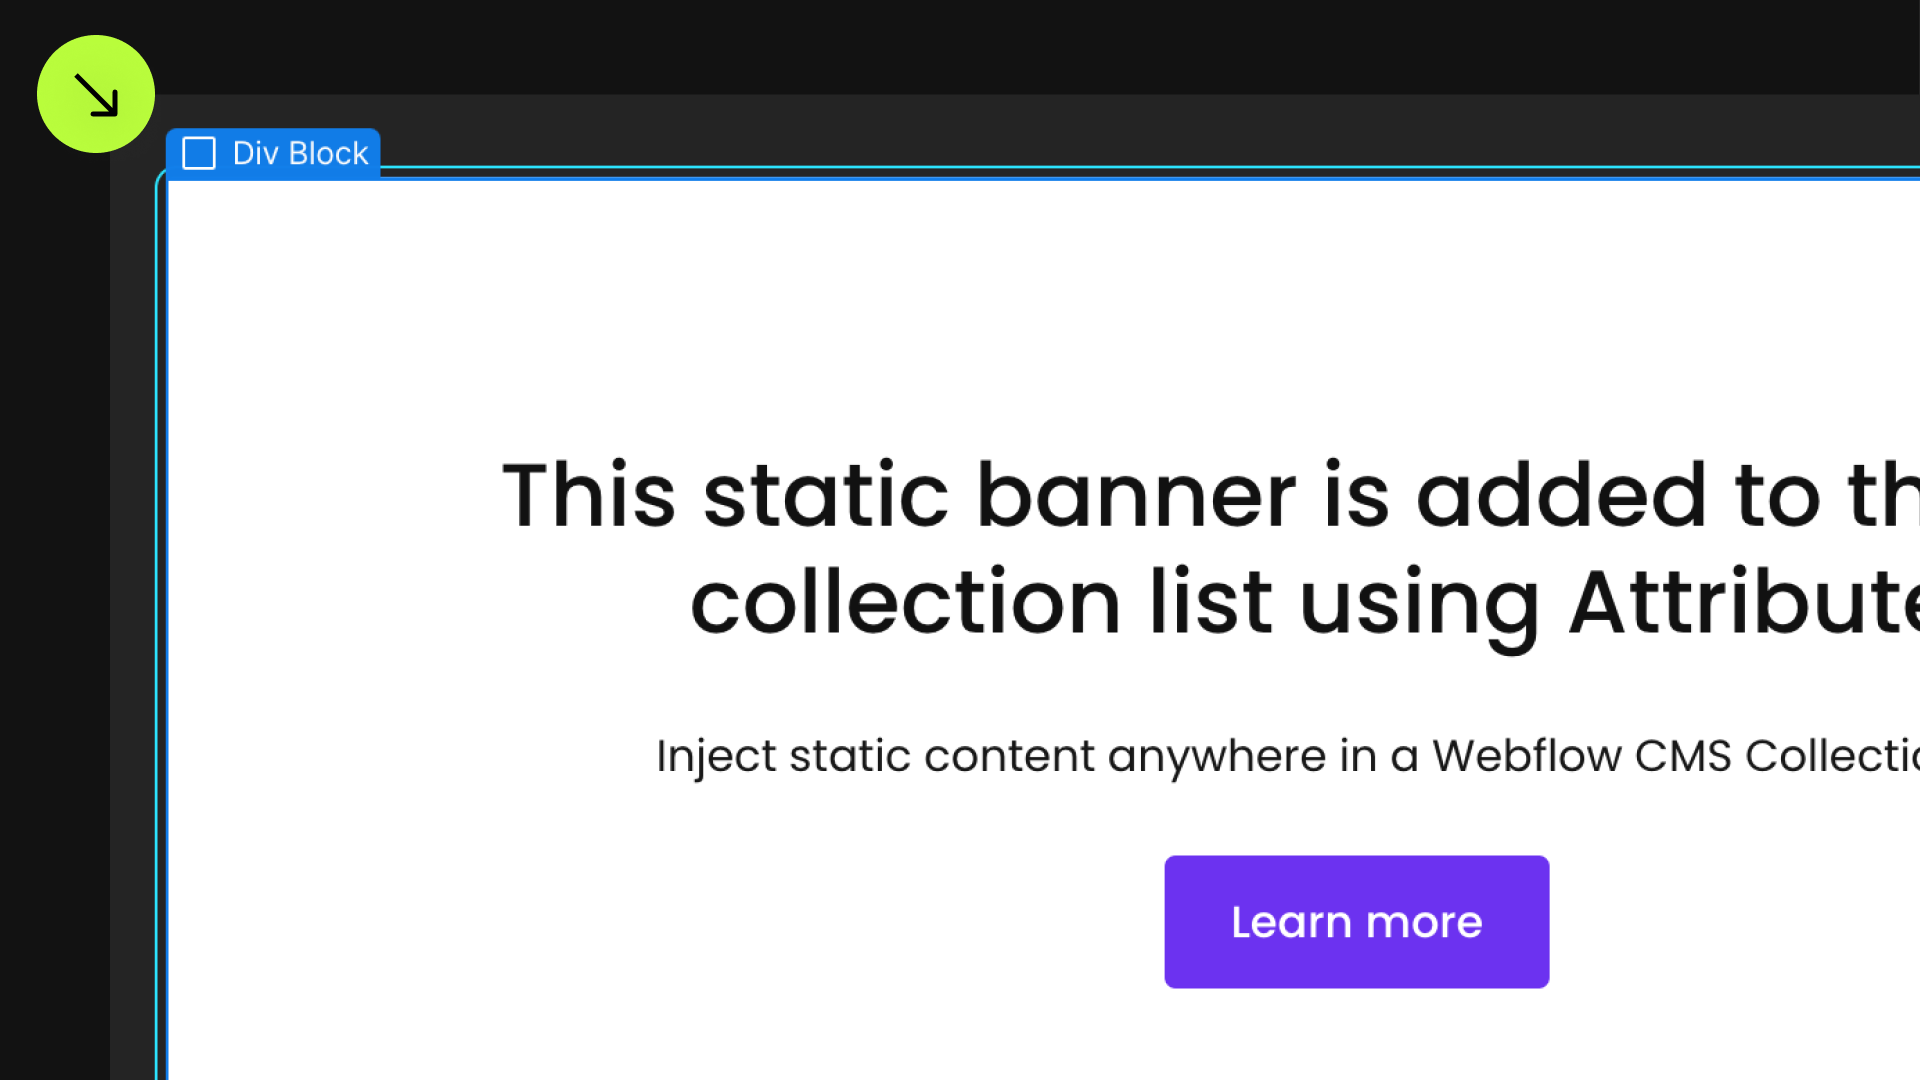
This static item will be inserted into the Collection List.

NOTE

Add as many static items to a Collection List as desired. For example, add a newsletter signup, call to action, and an advertisement to the same Collection List.

Add this attribute:
Name
fs-list-element
Copy
Value
item
Copy
Add it to those type(s) of element(s):
Any element
3

Publish your project! Done, easy right?

Check more elements and settings below
Optional

Add more

settings

Position

The position of the static item in the list.
fs-list-position
=
"
NUMBER
"

Set at which position in the list the Static Item is inserted.

EXAMPLE

A value of "3" would add the static item as the 3rd item in the list.

  1. [CMS Item]
  2. [CMS Item]
  3. [Static Item]
  4. [CMS Item] ...
Add this attribute:
Name
fs-list-position
Copy
Value
NUMBER
Copy
Example:
fs-list-position = "3"
Add it to any element with
fs-list-element = "item"
script icon
Script tag

Repeat

Set a repeat range for the Static Item
fs-list-repeat
=
"
NUMBER
"

Optionally repeat the static item in the list every X amount of items. X is the value set for this Attribute. Interactive element can also be set to be repeated.

EXAMPLE

A value of "2" would repeat this static item every 2 items in the list. Useful for adding a static item on each page of a paginated Webflow Collection List.

  1. [CMS Item]
  2. [Static Item]
  3. [CMS Item]
  4. [Static Item]
  5. [CMS Item] ...
Add this attribute:
Name
fs-list-repeat
Copy
Value
NUMBER
Copy
Example:
fs-list-repeat = "2"
Add it to any element with
fs-list-element = "item"
script icon
Script tag

Interactive

Allow the solution to be compatible with other List solutions
fs-list-interactive
=
"
true
"

The default setting is false.

  • true means the static-item will be compatible with functionalities such as filter, sort, load more, and nest. When using a filter, the static-item will be filtered along with the other items in the list.
  • false indicates that the static-item will not interact with filter, sort, load-more, or nest functionalities. If its order is set to 3, for example, the static-item will remain fixed in the third position, unaffected by any functionalities like filtering.
Add this attribute:
Name
fs-list-interactive
Copy
Value
true
Copy
Default:
fs-list-interactive = "false"
Add it to any element with
fs-list-element = "item"
script icon
Script tag
Optional

Add more

Instances

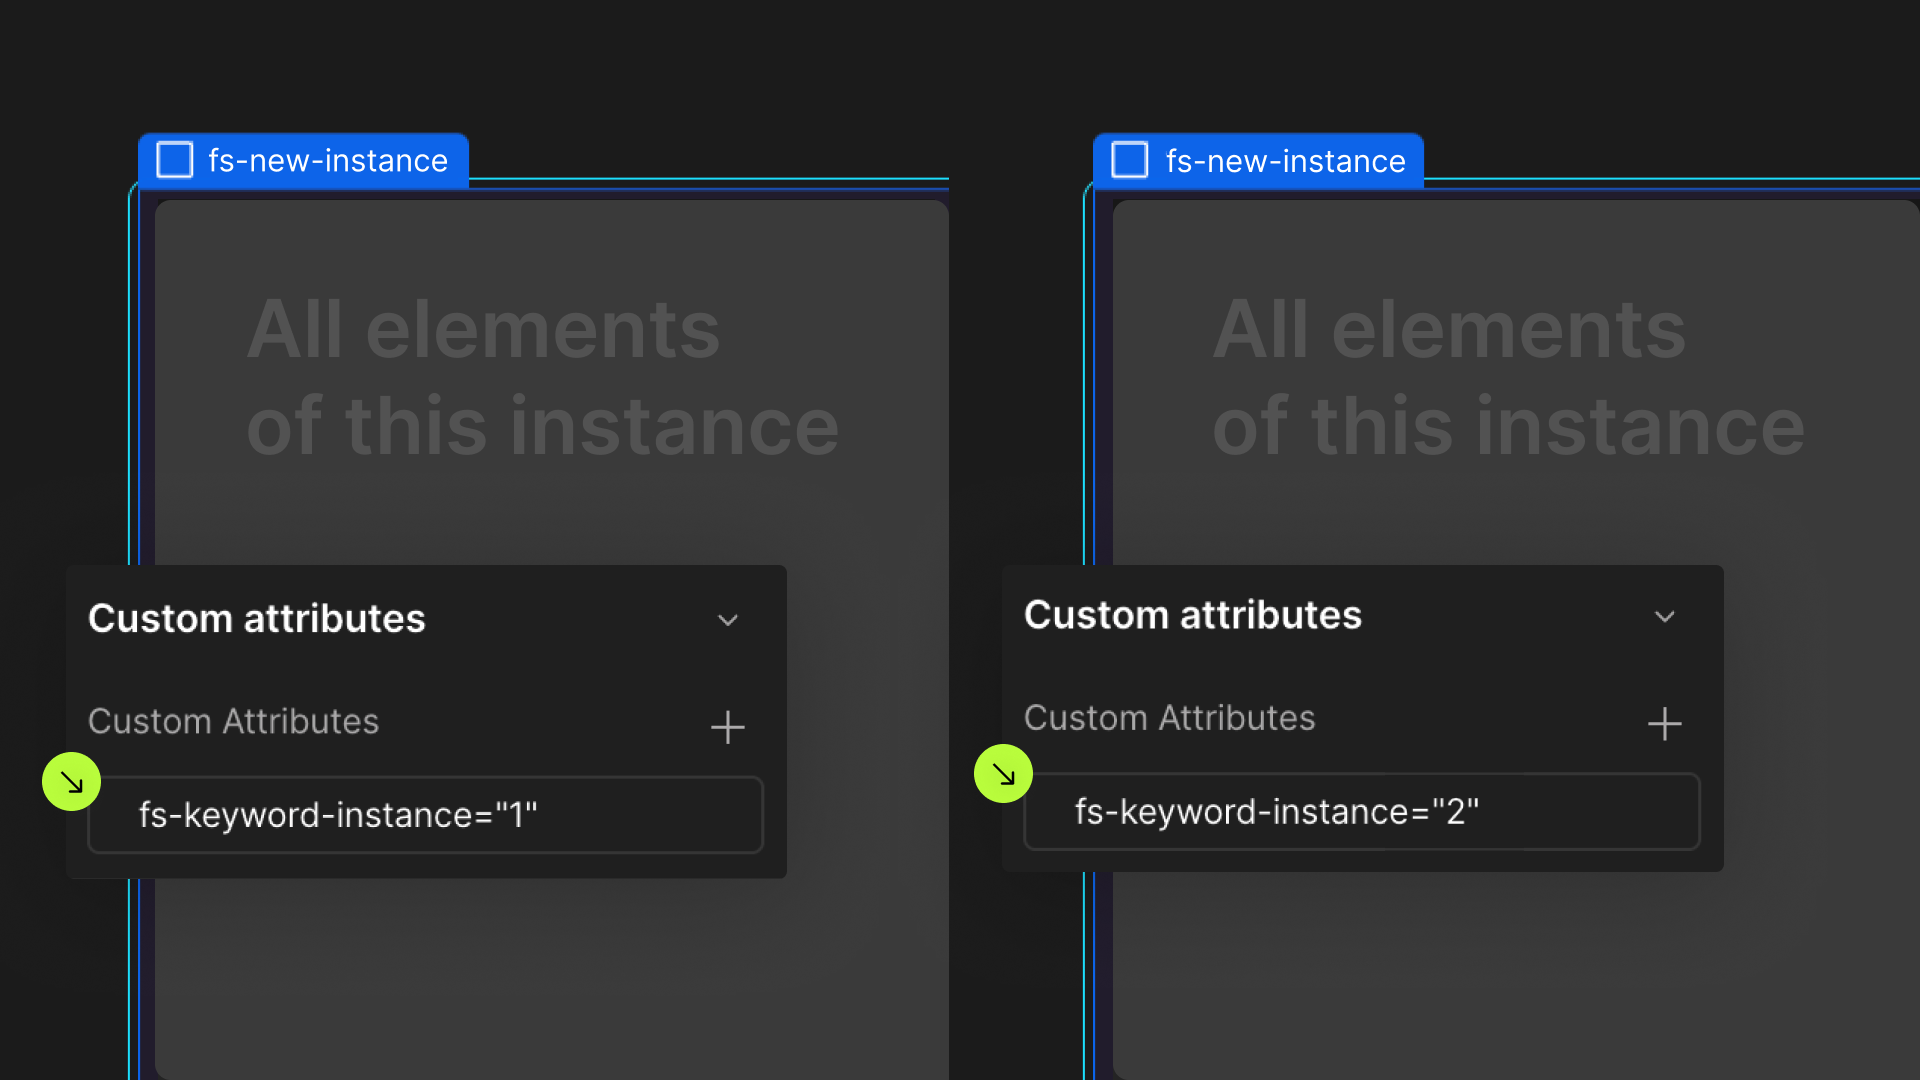
Define an instance on a common parent wrapper

fs-list-instance
=
"
IDENTIFIER
"

If you wish to create multiple instances of this solution on the same page, please follow the steps below:

  1. Select a wrapper parent that contains all the elements of an instance.
  2. Add an -instance attribute to it, with a unique value.
  3. Repeat for every instance.
Add this attribute:
Name
fs-list-instance
Copy
Value
IDENTIFIER
Copy
Examples:
fs-list-instance = "1"
fs-list-instance = "2"
fs-list-instance = "blog"
fs-list-instance = "team"
Learn more ways to set up multiple instances and how it works

Still need help?