

COOKIE CONSENT DOCS
Google Fonts
How to use Cookie-Compliant Google Fonts in Webflow
In compliance with the General Data Protection Regulation (GDPR), Google Fonts collect users’ data, meaning that using Google Fonts on your website may violate GDPR guidelines and put you at risk. Check below to learn how you should use Google Fonts in Webflow.
Follow this step-by-step guide to use Google Fonts:
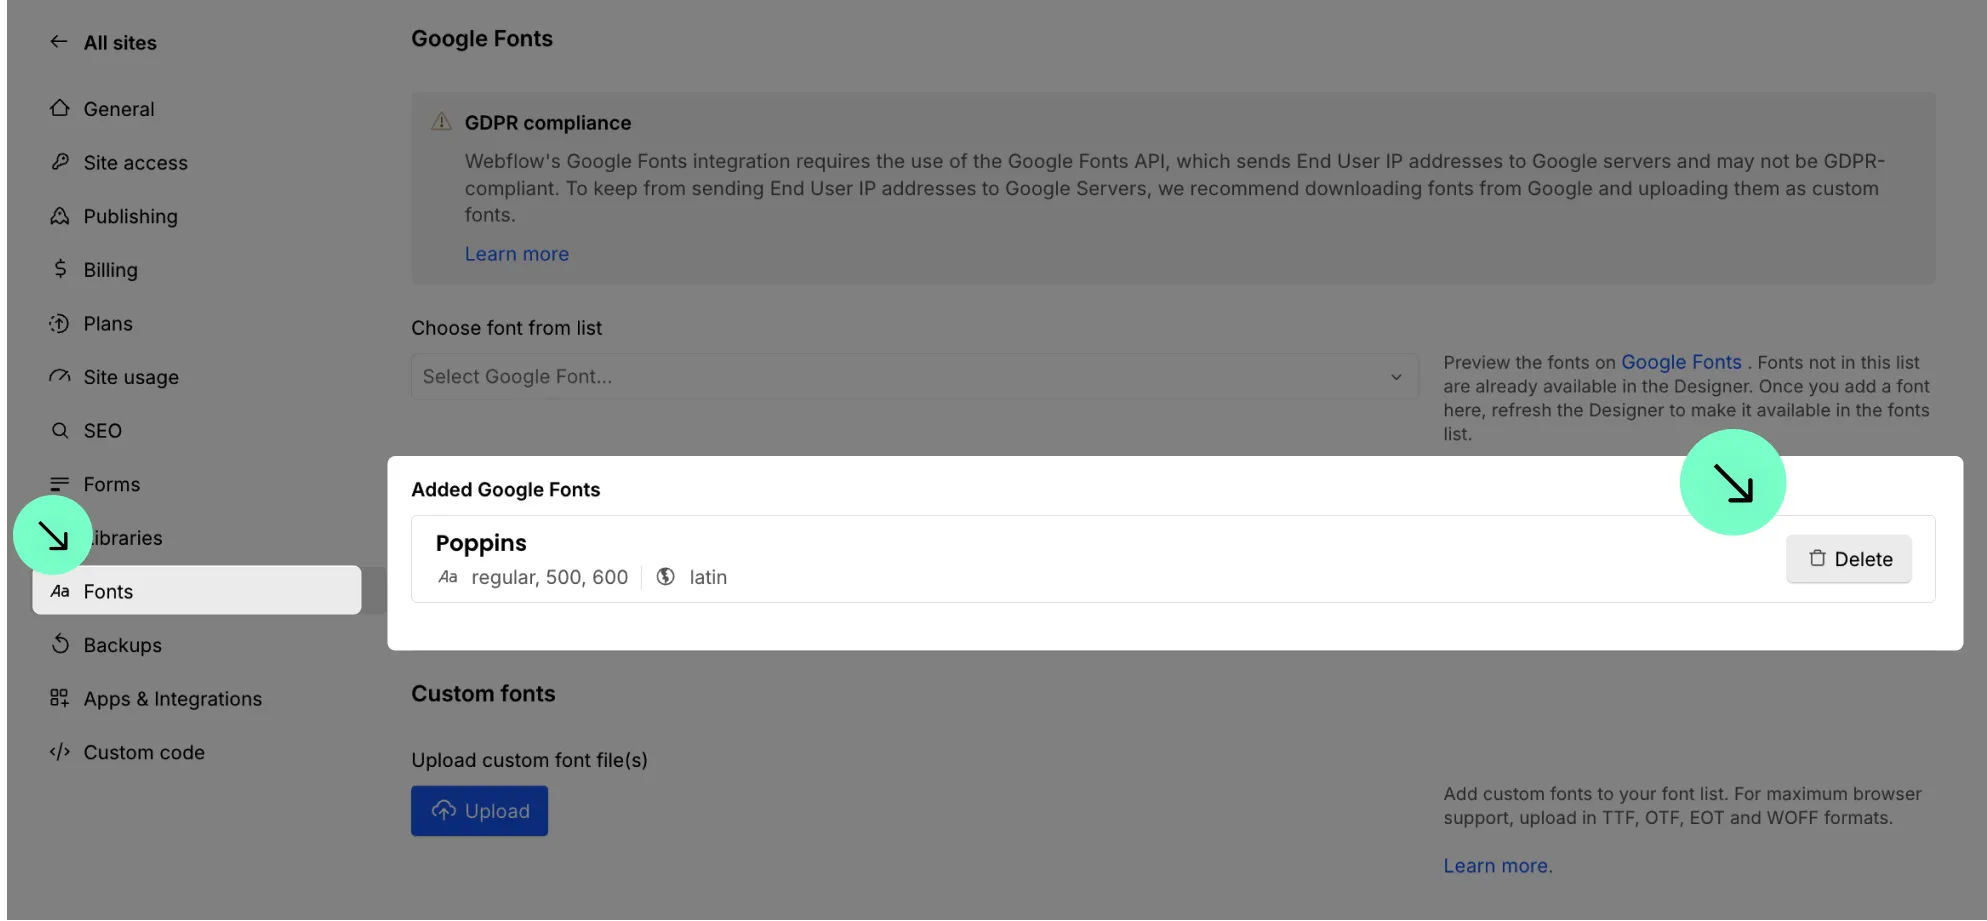
1
Delete the fonts in the 'Added Google Fonts' section if you have any.
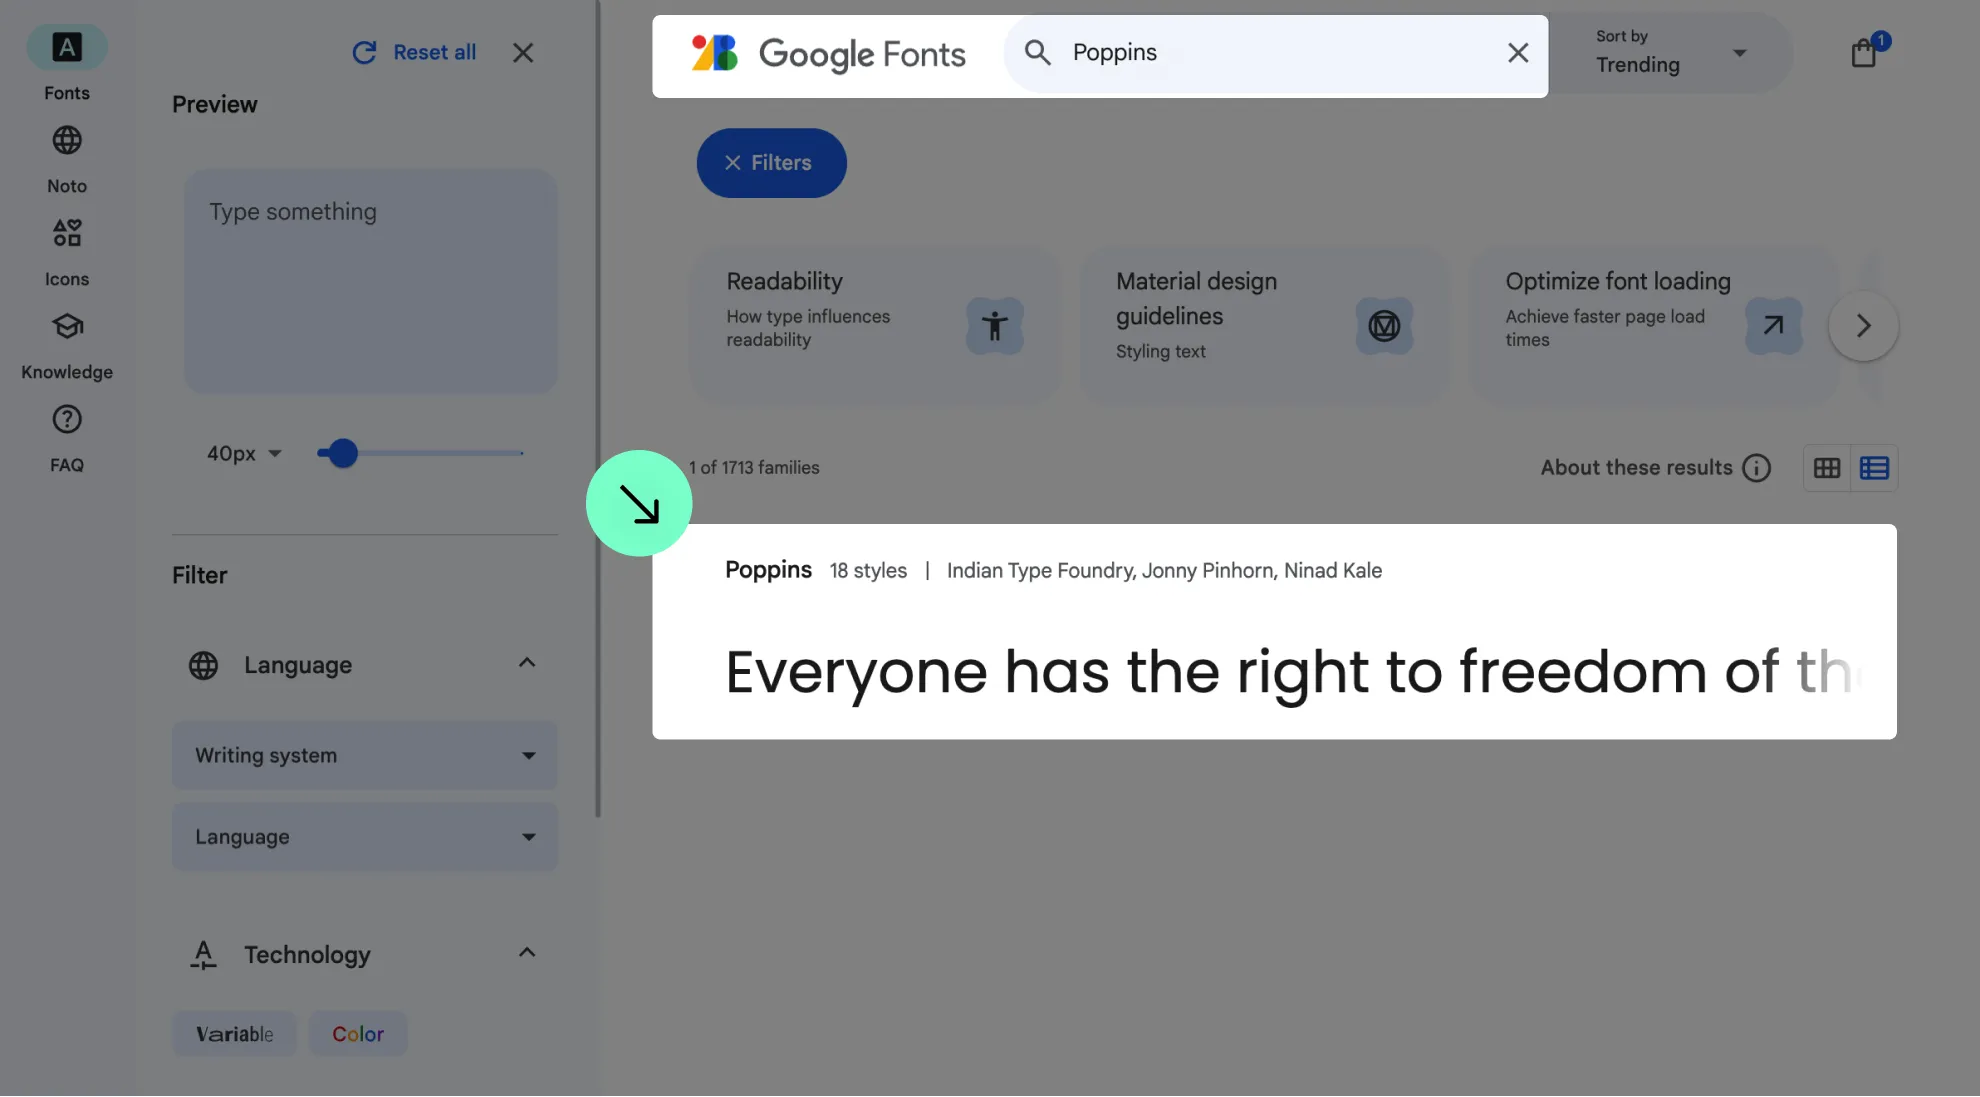
2
Go to Google Fonts and search for the font you need.
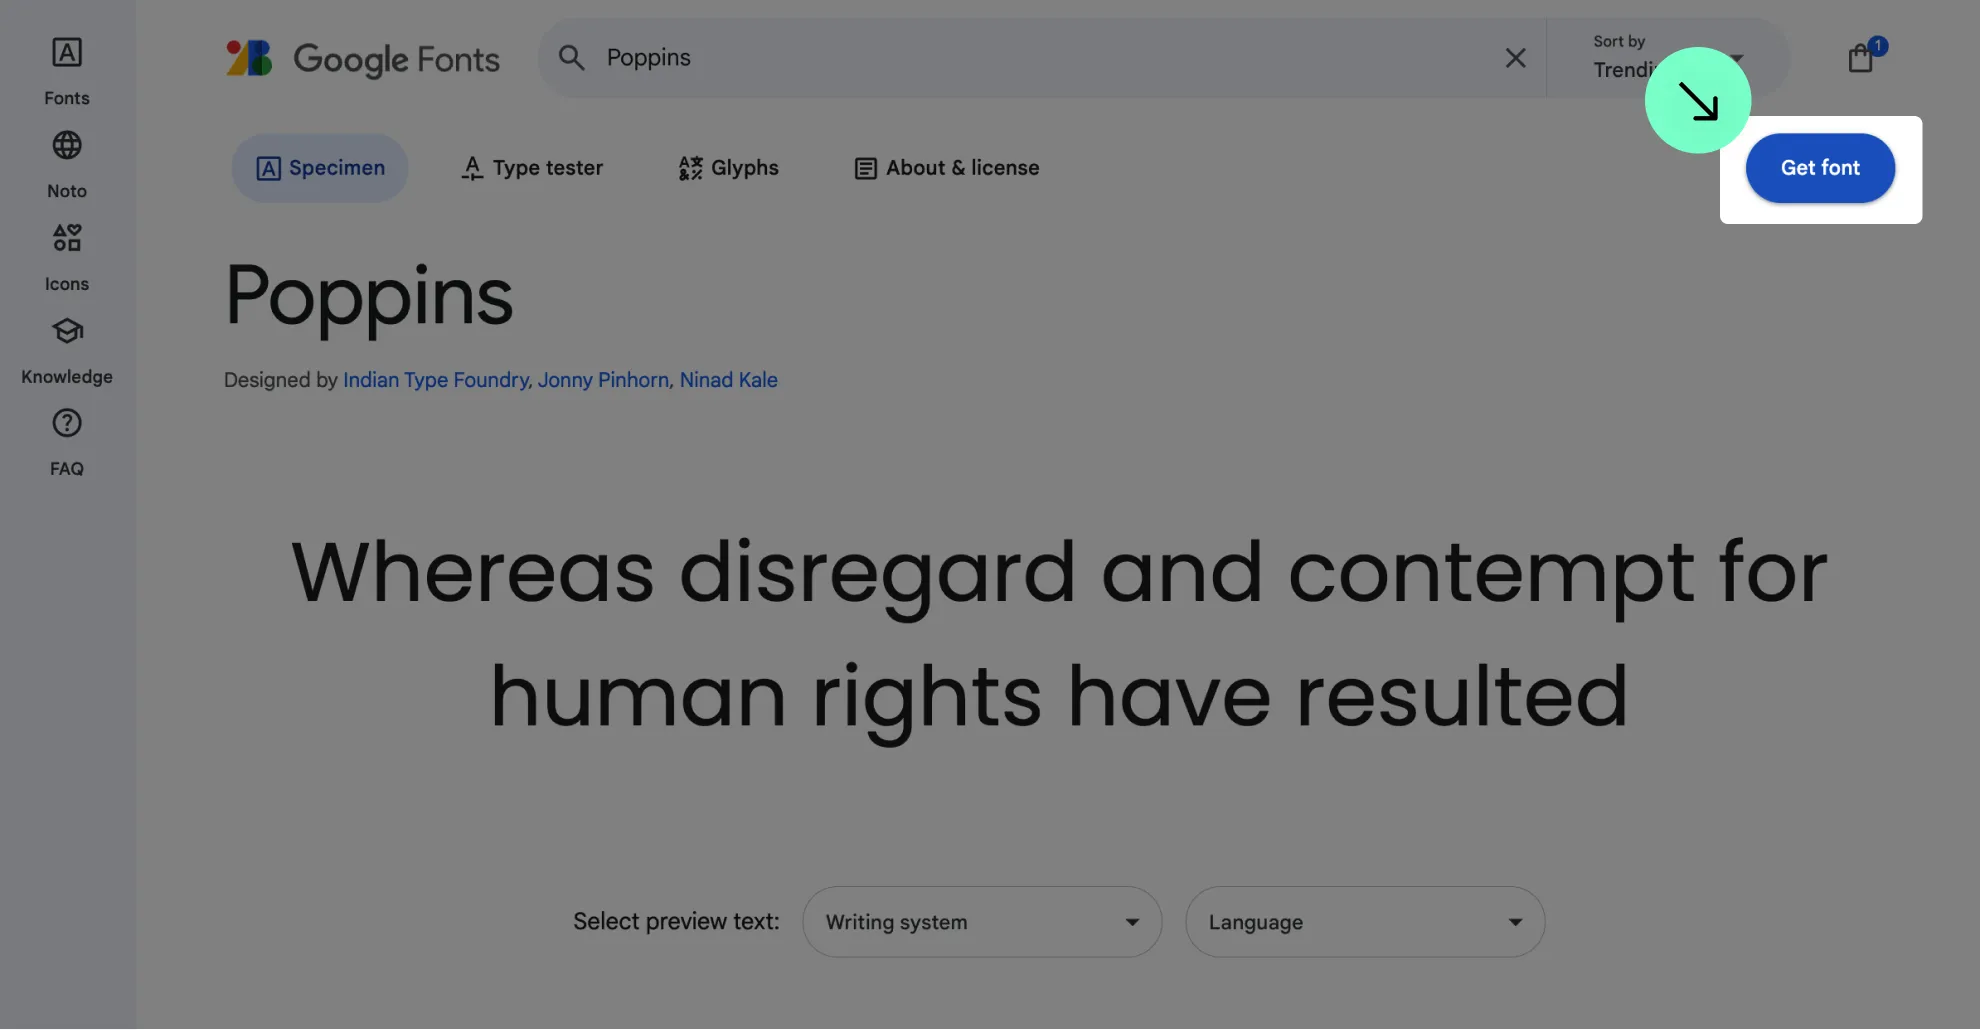
3
Click on 'Get font' to access the font's page.
4
Download the font.

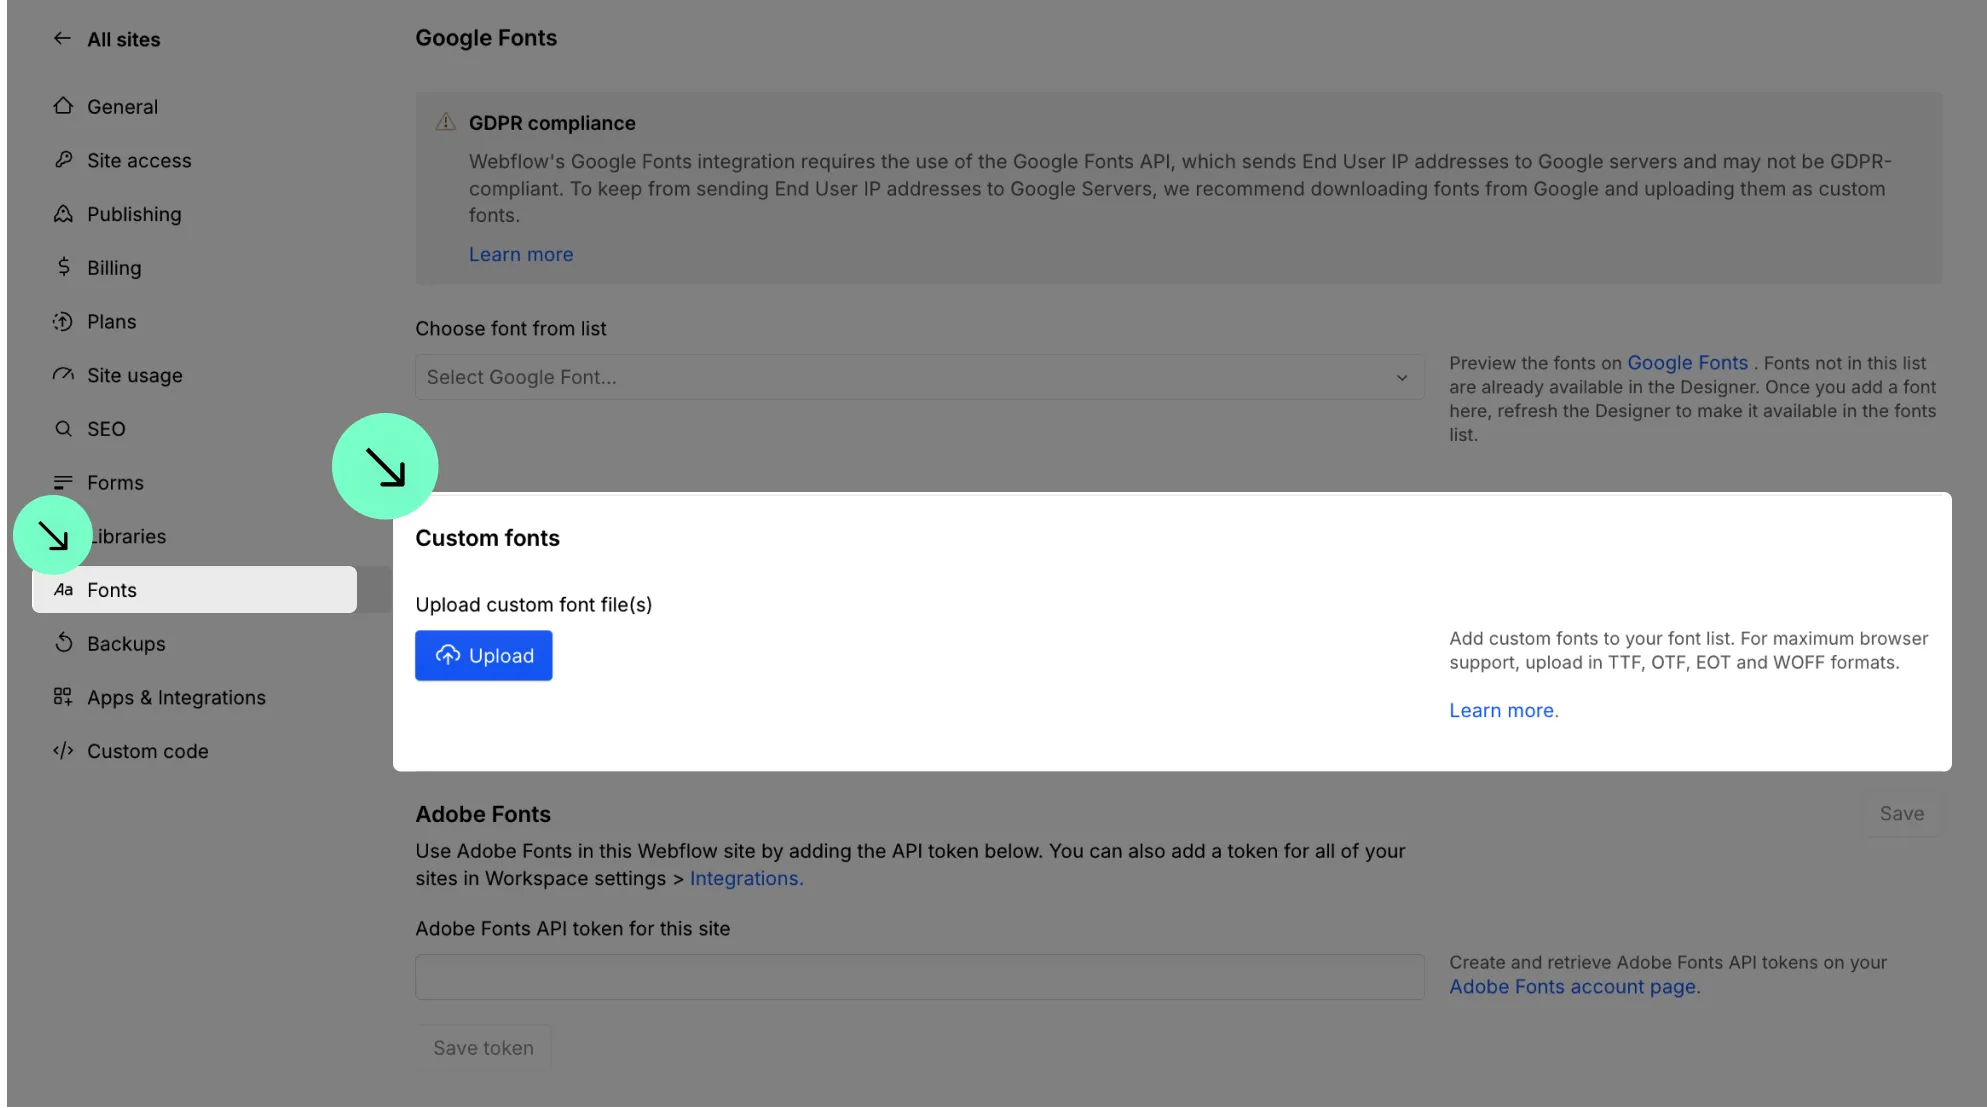
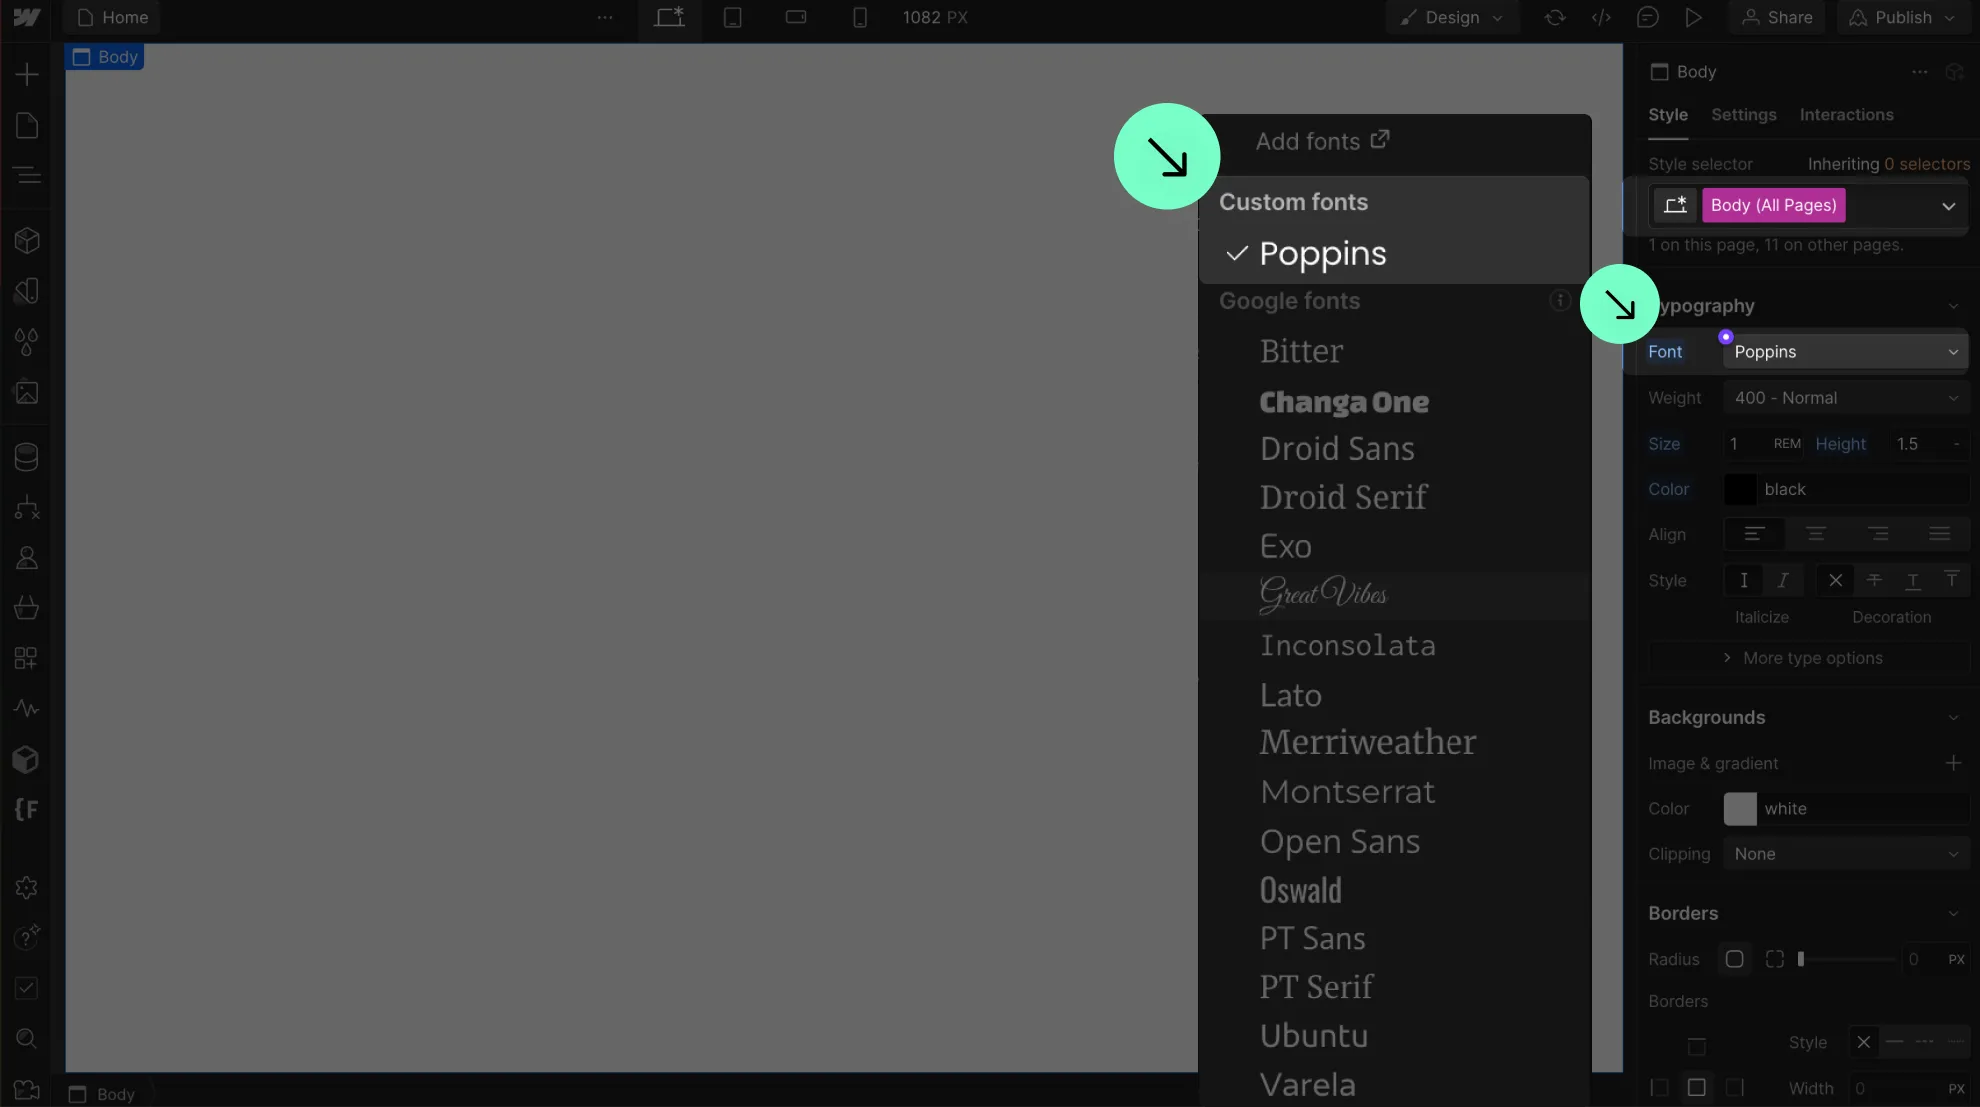
5
Upload the font in the Custom Font section.

6
Update the font style of your elements in the Webflow canvas.
7
Publish your project! Done!
Still need help?
Get Support