CSS specificity
Learn the concept of CSS Specificity and how it relates to using Client-First's spacing system in Webflow.
Intro
CSS Specificity determines which CSS property values are most important to an element. If an element has two CSS property values, the one with the higher specificity wins, and its property value is applied to the element.
It's not simple, but it's important. It's something anyone can understand with education and practice.
CSS Specificity is not an issue specific to Client-First. It is not an issue that Client-First is creating. It is how CSS works.
The specificity principle most relevant to the Client-First system is: Classes added to the CSS style sheet latest will "win" when there are CSS property value conflicts.
We will learn how it works through an example inside the Client-First Style System. There is a common workflow problem when adding Client-First styles to a project.
If we copy-paste Client-First margin and padding classes to another project in the wrong order, the classes will not work as expected.
Client-First spacing example
When will the Client-First spacing system NOT work?
We copy-paste the spacing system from our official starter project into another project by following the below steps:
- Inside the start project, go to the Style Guide page and open the Navigator.
- Copy the fs-styleguide_spacing-directions 'folder' and paste it into the new project.
- Then, copy-paste the fs-styleguide_spacing-sizes 'folder' and paste it into the new project.
The Client-First margin classes should be ready to use after copying all of the classes into the project. However, the spacing system will not work with this order of operations.
Everything works as expected when we add a new Div Block to the page and apply margin-bottom to it.
If we add margin-large to it, we expect a large margin to be applied to the top side.
However, a large margin is added to all sides. This is not intended.
We can not use Client-First spacing system like this.
Why this example does not work? CSS Specificity.
The size classes were added to the project after the direction classes. Because of this, the size classes are more specific to the project’s specificity.
margin-top was added to the Webflow project first, then margin-large was added to the Webflow project.
When we create styles inside Webflow, the styles are generated on the CSS stylesheet in the order they were created in the Webflow project.
One principle of CSS Specificity is "Order of creation".
The rules of CSS Specificity consider a class created lower (later) in the CSS stylesheet to be more specific to the website than the styles created higher (earlier) in the CSS stylesheet.
A class created later in our Webflow project (margin-large) has a higher weight than the class created earlier in our Webflow project (margin-top).
If those two classes have the same CSS property applied to them (margin), the class with the higher weight will 'win', and the style property declaration of that class will be applied to the element.
margin-large has a higher weight than margin-top, so it will overwrite the styles of margin-top. margin-large has margin applied to all sides. Those styles take priority and overwrite the 0rem margins of our margin-top class.
We need the class margin-top to overwrite the margin-large on all sides. We must switch the order of the creation for the spacing system to work.
When will the spacing system work?
1. Client-First starter project cloneable (Recommended)
When we use the official Client-First starter project, the spacing classes will be created in the correct order. We do not have to worry about the example above occurring in our project.
2. Finsweet Extension > Client-First
Using Finsweet Extension, we can copy the complete Client-First spacing system — without CSS Specificity issues. margin-[size] classes will automatically be added to the project first, and margin-[direction] classes will automatically be added to the project second.
3. This workflow
We copy-paste the spacing system from our official Client-First starter project into another project by following the below steps:
- Inside the starter project, go to the Style Guide page and open the Navigator.
- In the Navigator, open fs-styleguide_classes >fs-styleguide_spacing-all
- Copy the fs-styleguide_spacing-sizes 'folder' and paste it into the new project.
- Then, copy-paste the fs-styleguide_spacing-directions 'folder' and paste it into the new project.
Now, when we add a new div block to the page, apply margin-bottom to it, and then apply margin-large on top, it works.
The margin-bottom will be applied only to the top side of the div block.
CSS Specificity 'display: none' example
Remember that CSS Specificity is not specific to Client-First or our spacing system. We will walk through an example that has nothing to do with spacing. CSS Specificity issues can occur on any Webflow project, regardless of build strategy.
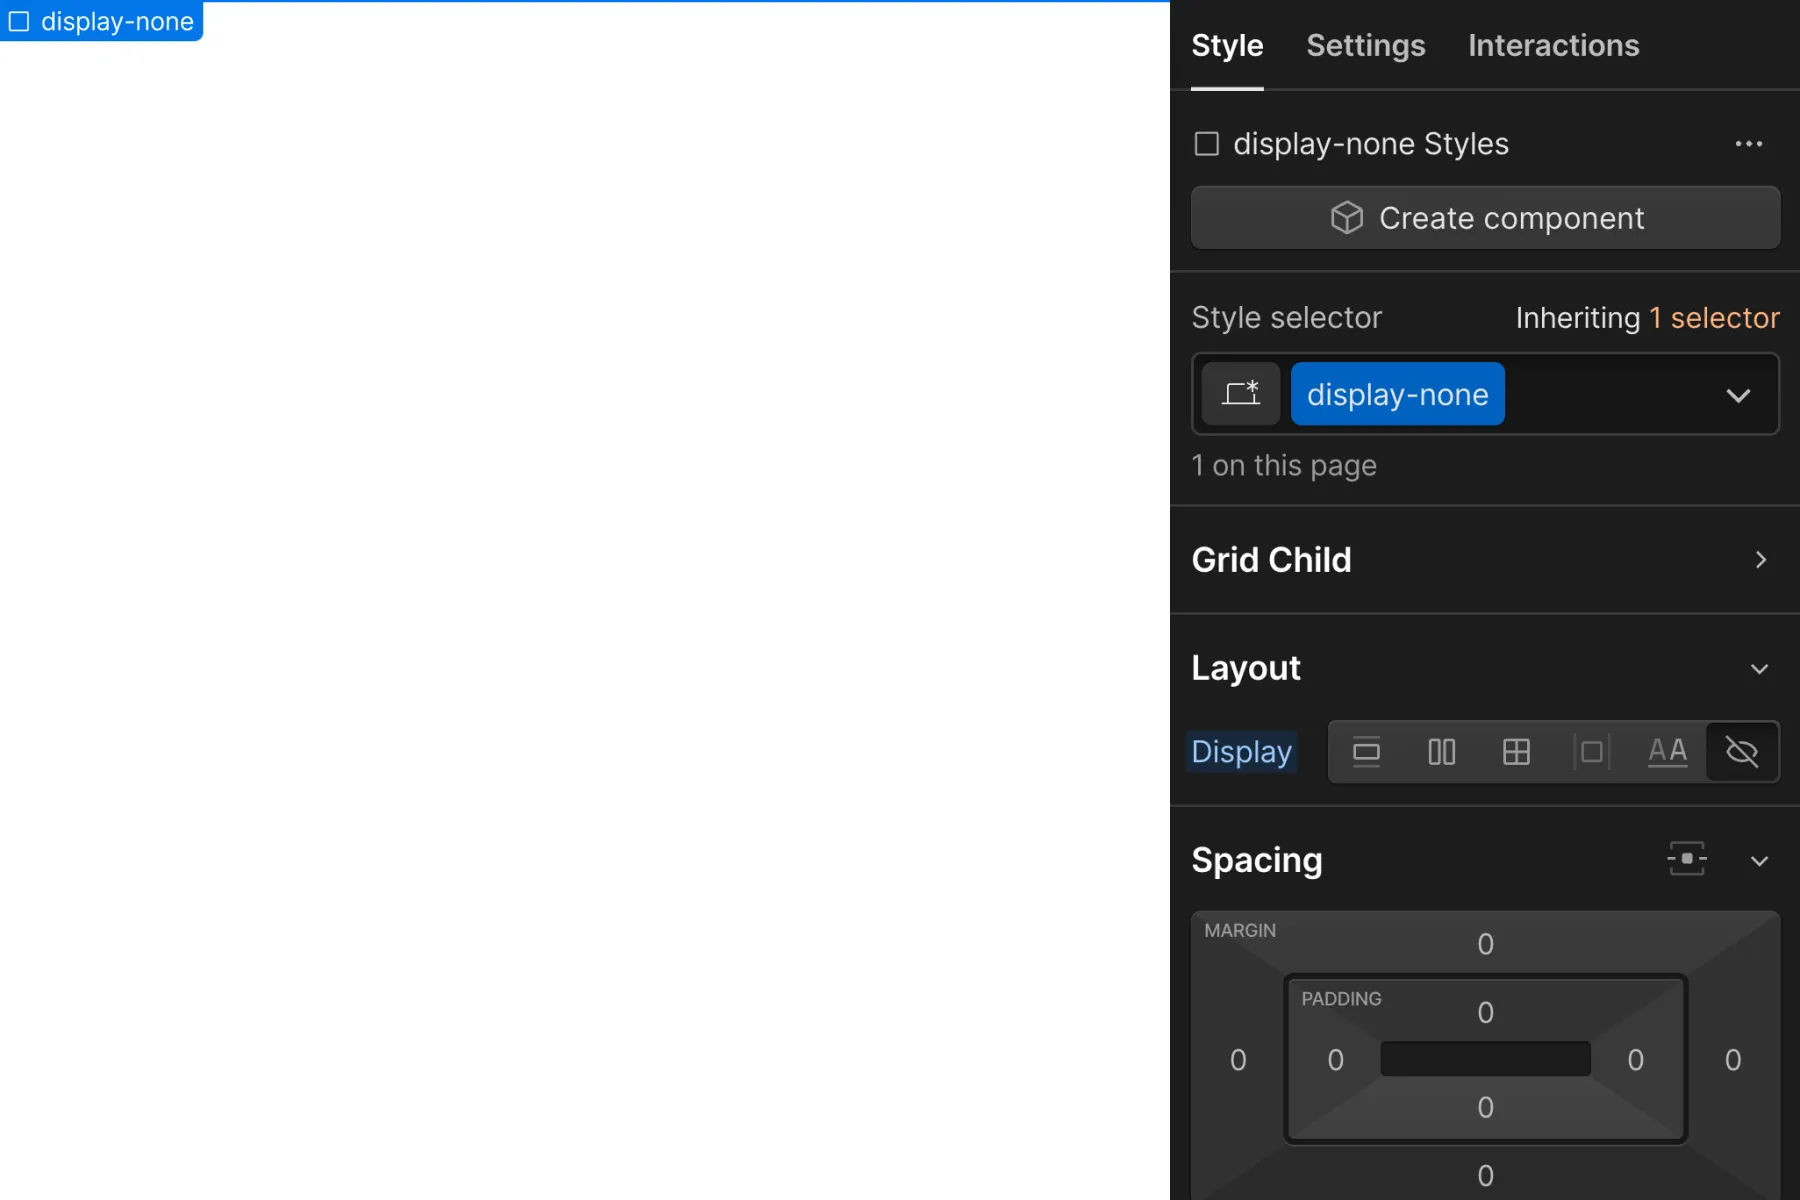
First we will add a display-none class, which will set the display property to none. We intend to use this class throughout our project as a utility class to apply anywhere in our project.
Next, let’s create an element called background-error, with its display set to block and its background set to red.
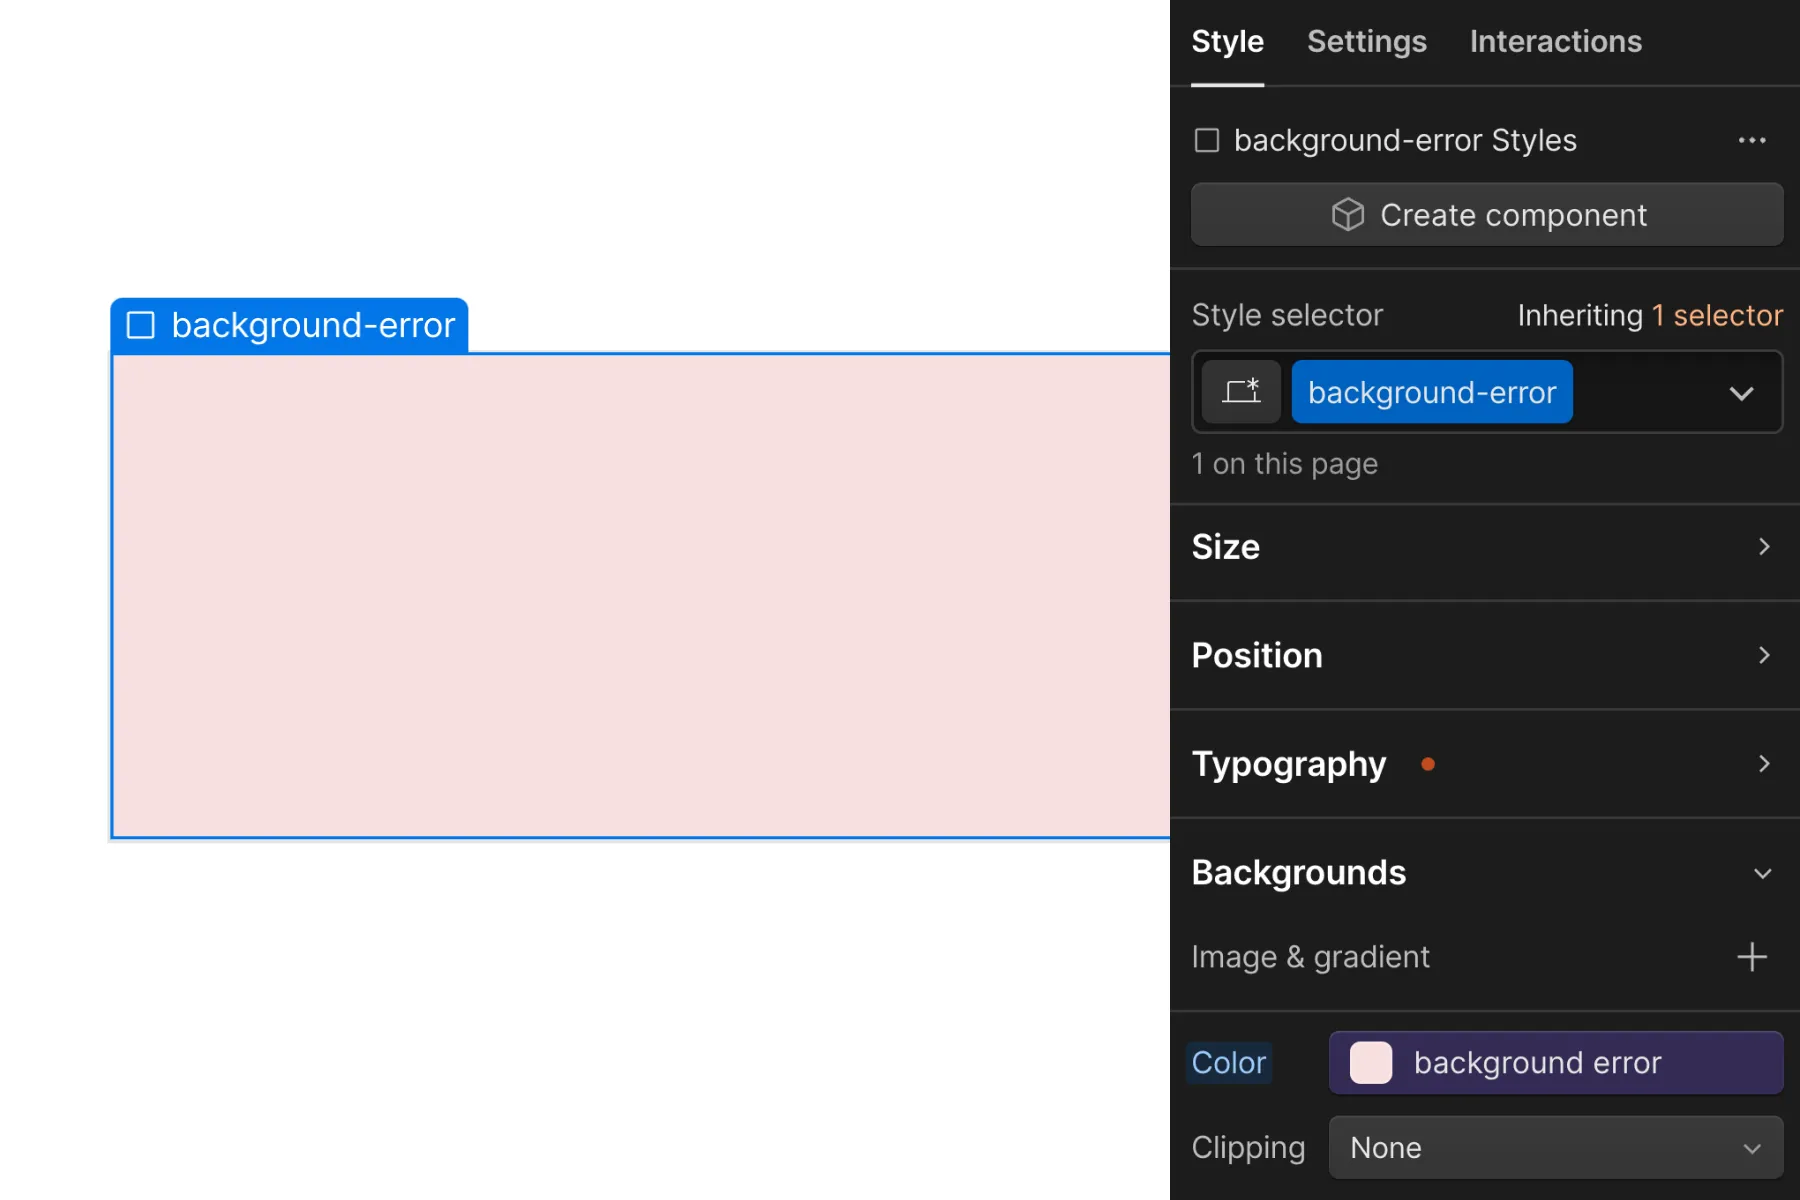
When we add display-none to background-error as a combo class, our first thought is the background-red should be set to display: none.
Because of CSS Specificity, this does not happen. The display property on display-none is ignored.
Since background-error was created after display-none, it is more specific to the stylesheet and the project.
The display property of background-error has more weight than the display property of display-none, which makes background-error win.
Fixing with Finsweet Extension
The CSS Styles Reorder Candy in Finsweet Extension will allow us to reorder the classes on our project's .css stylesheet.
The above display: none use case is an excellent example of why we added this functionality. We can fix the problem above quickly and reliably with Finsweet Extension.
- Open the Extension, select Candies, and then CSS Styles Reorder.
- Move the background-error class before the display-none in the list of classes and Save.
This action visually changes the order of the styles in the CSS file. This tool can fix any order of creation CSS Specificity issue inside Webflow.
Now, background-error is first, and display-none is second on the style sheet. Now we can use our display-none class as intended.
When display-none is the last class on the stylesheet, it will be truly global in nature. It can overwrite the display property of any class in the project.
Live session video explanation
Below is a video from an F'in Live episode that explains much of this page's content. The full written page is a more in-depth explanation.
Conclusion and next steps
The information above is a small piece of CSS Specificity. It's a complex concept with a list of many defined rules. Above we learn one of those rules — the order of classes on the .css stylesheet.
Understanding every part of CSS Specificity is not required to be a pro in Webflow. However, when we understand advanced concepts like this, we take our Webflow knowledge to the next level.
Understanding CSS Specificity gives us a deeper connection to the CSS in our project. The more we understand it, the deeper the connection.
There's a lot of content about CSS Specificity online. Start with W3 Schools CSS Specificity documentation page to learn more.